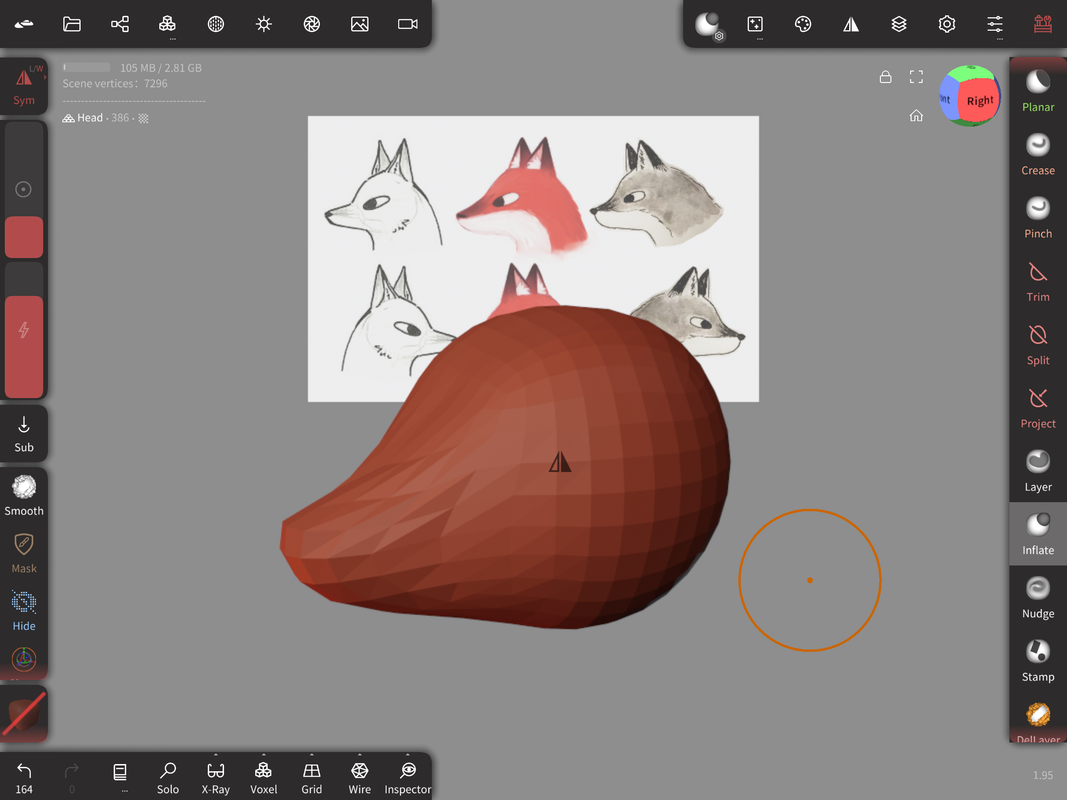
MOIRADB.GRILLUST.UK
  • Who am i ???
  • University of Cumbria year 3

3D work

Picture


​I want to be able to make my own 3d models to use as references 

My goals for for this project is
- to learn how to use the 3d modeling software called nomad sculpt
- 3D model a character in a simple pose
- 3D print the character

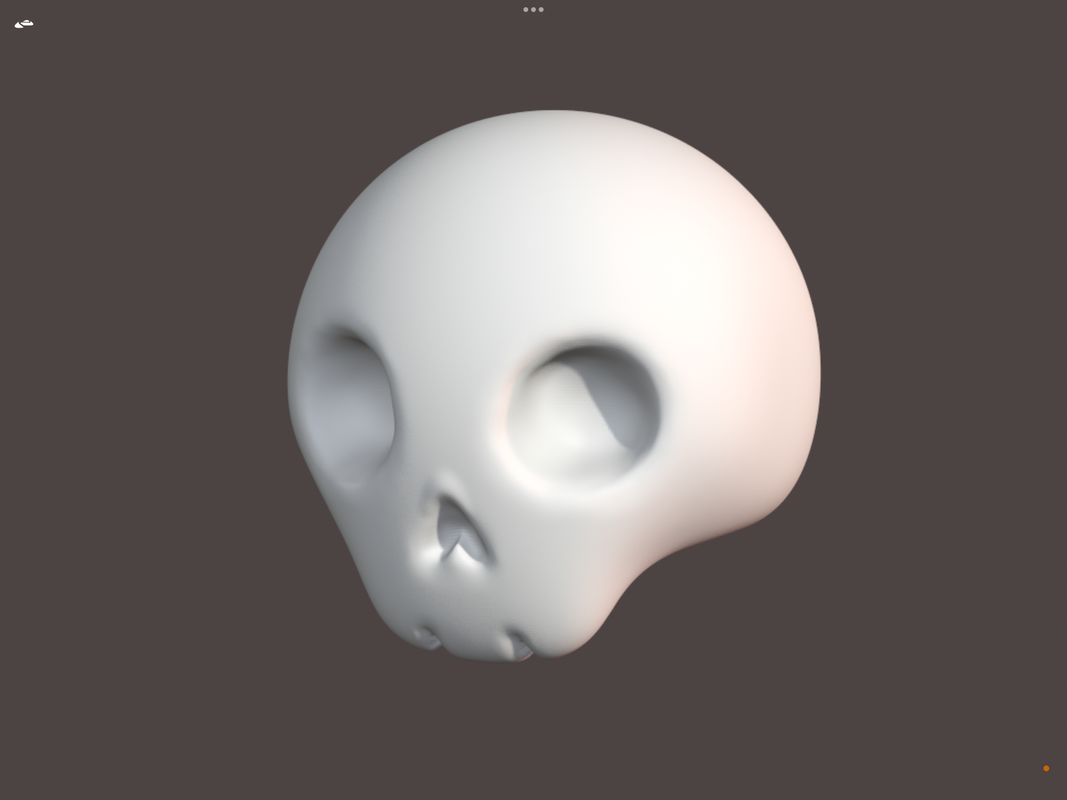
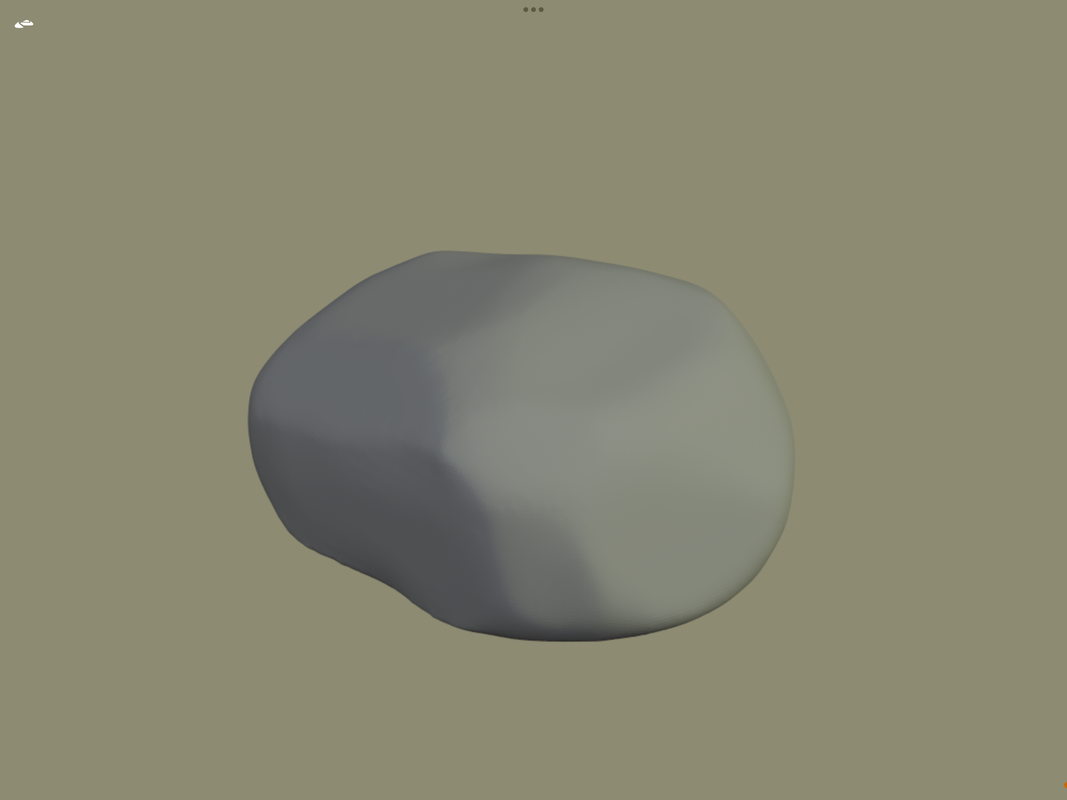
The first step is to learning the 3d sculpting program Nomad sculpt 

The youtuber Dave Reed has many beginner and advanced lessons on YouTube for the program. I followed along to this one below

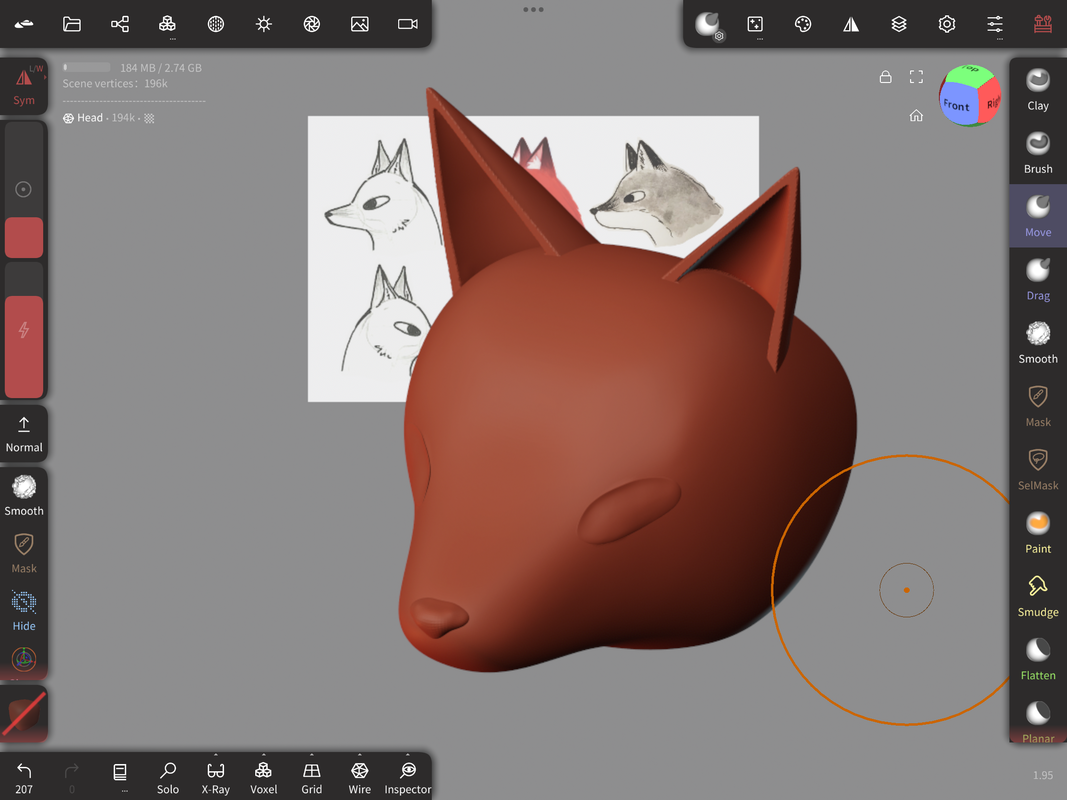
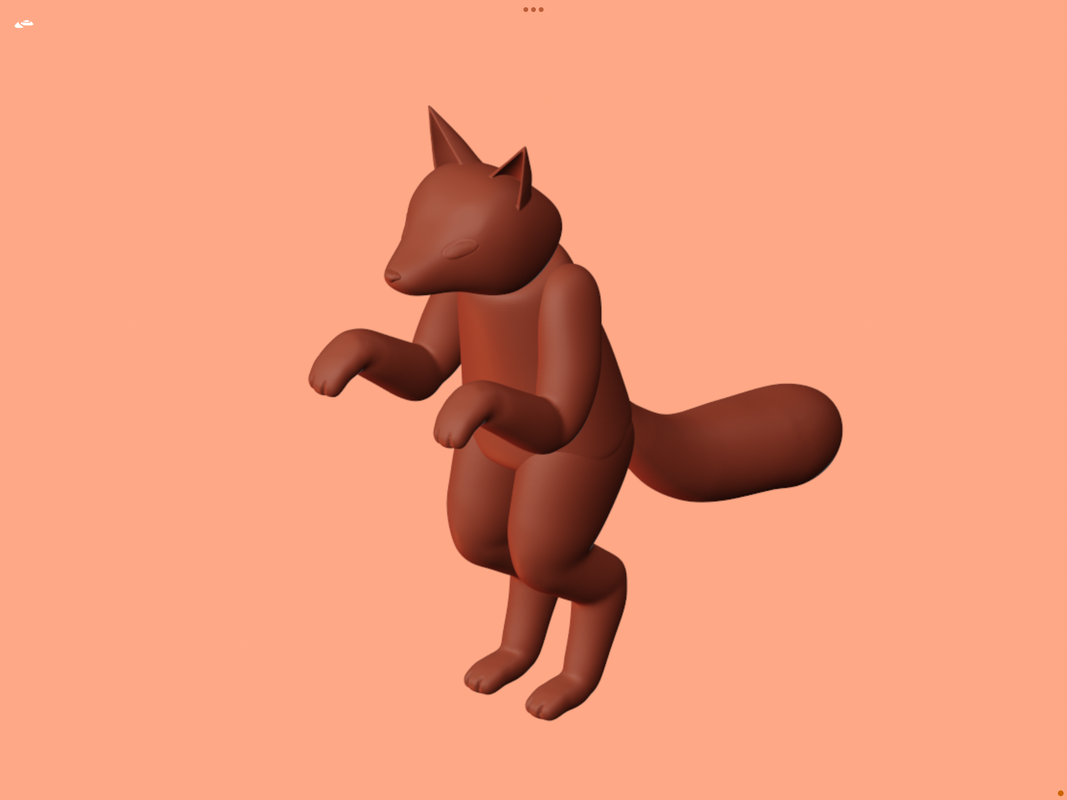
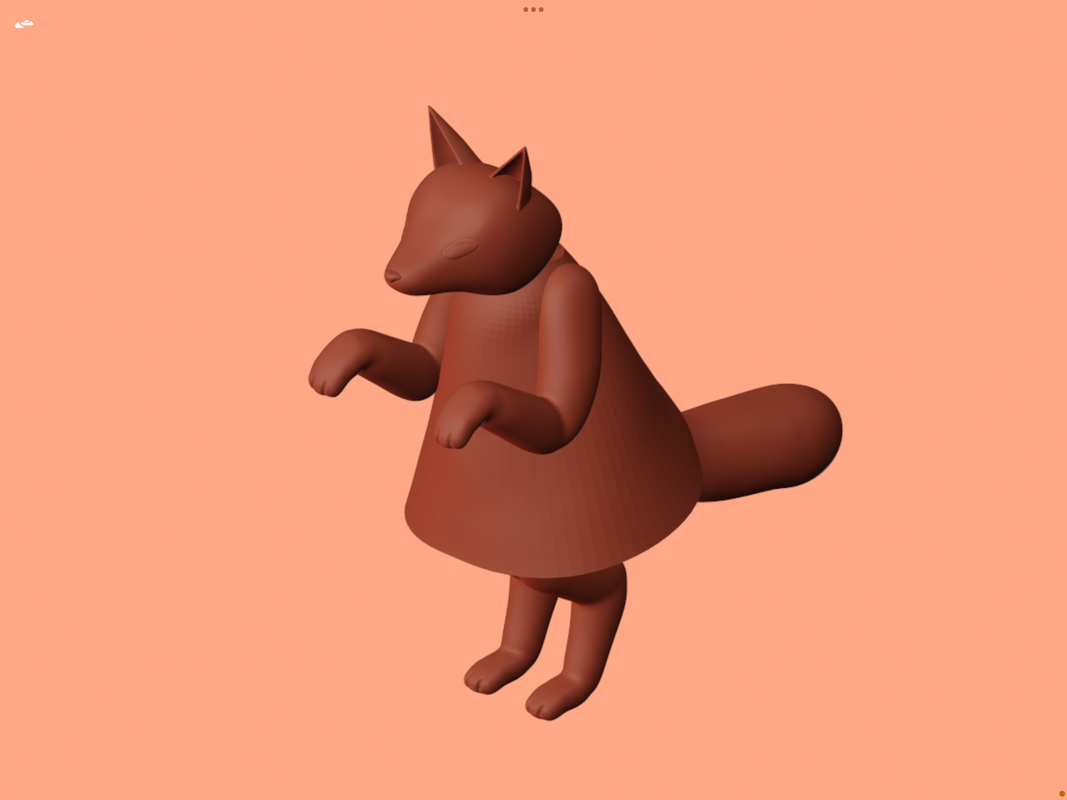
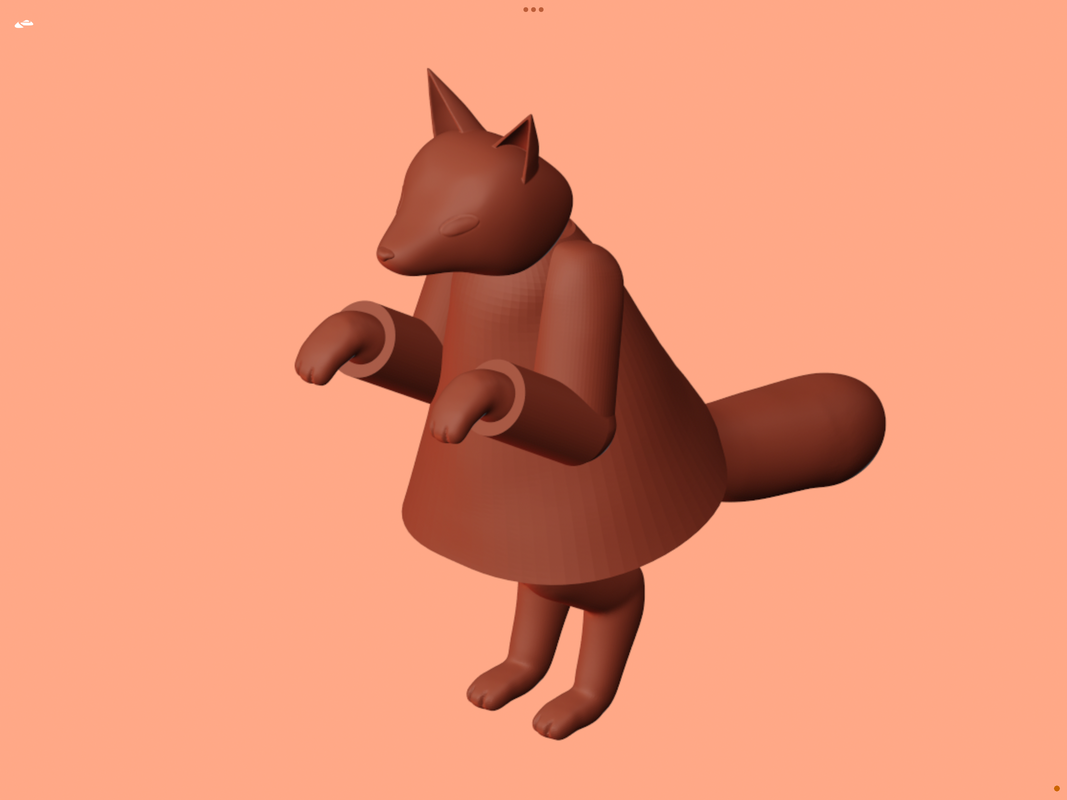
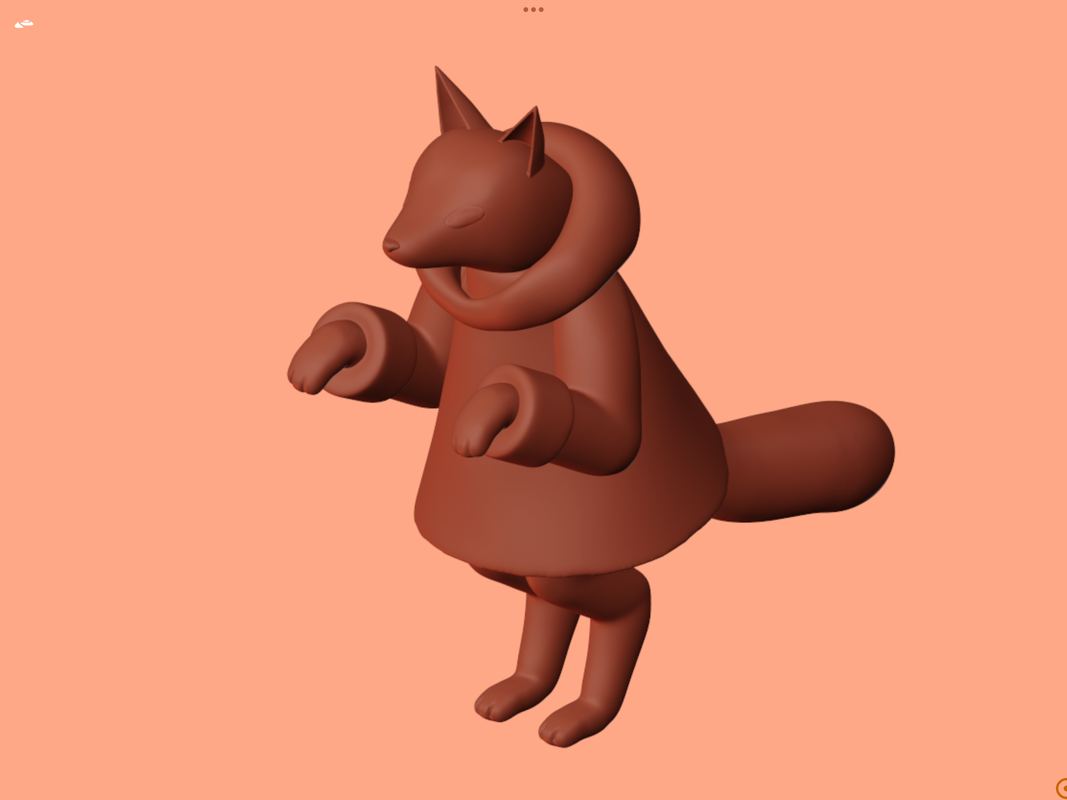
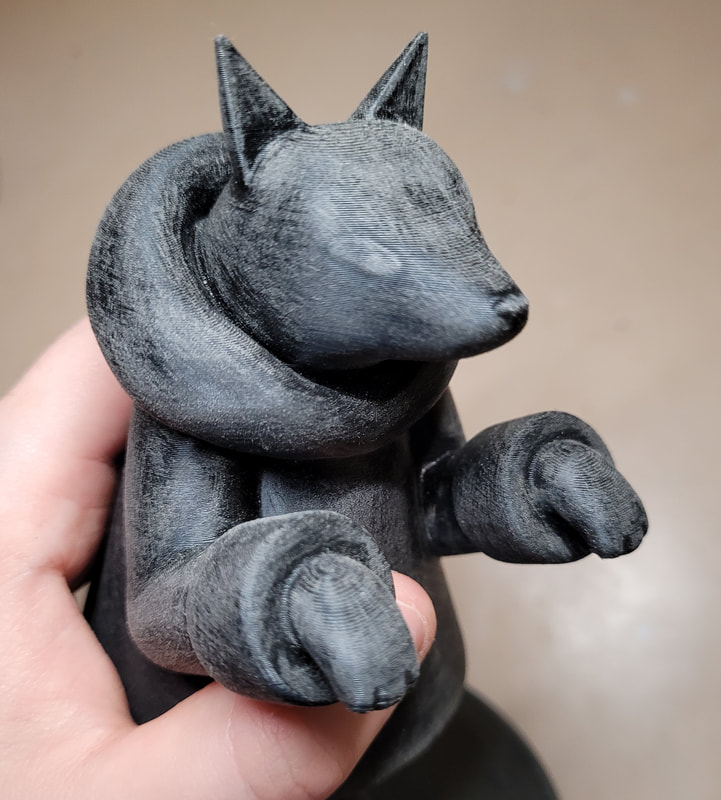
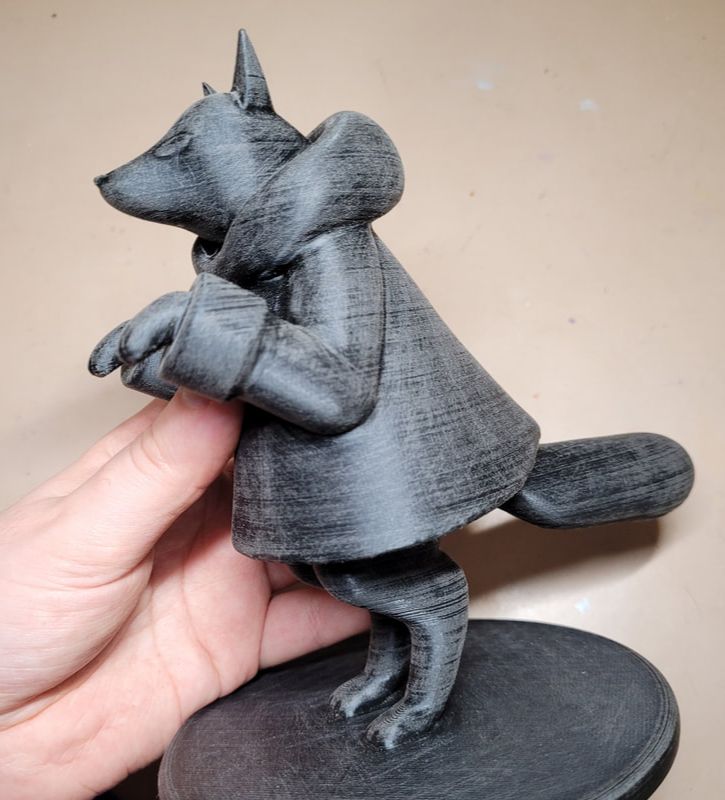
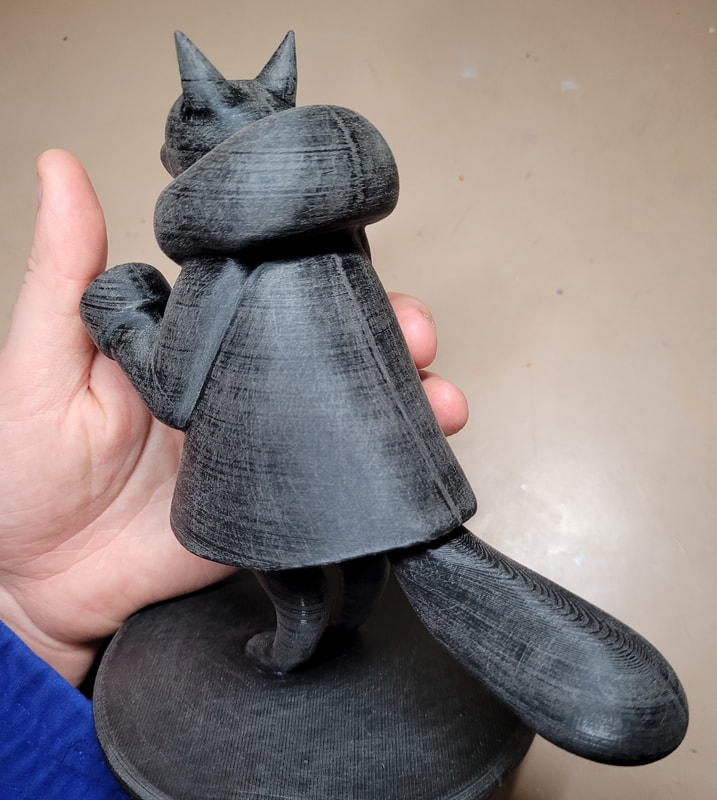
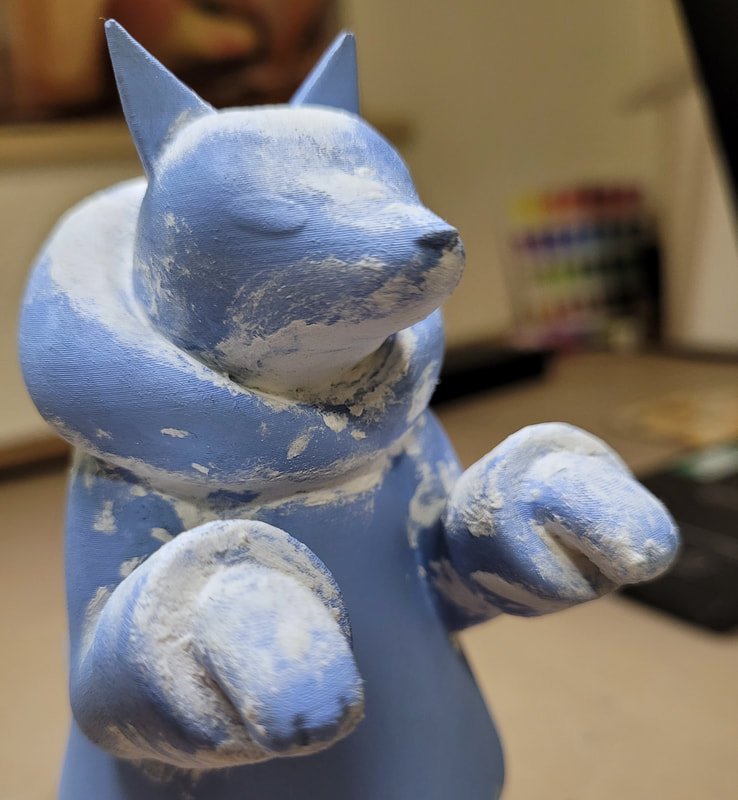
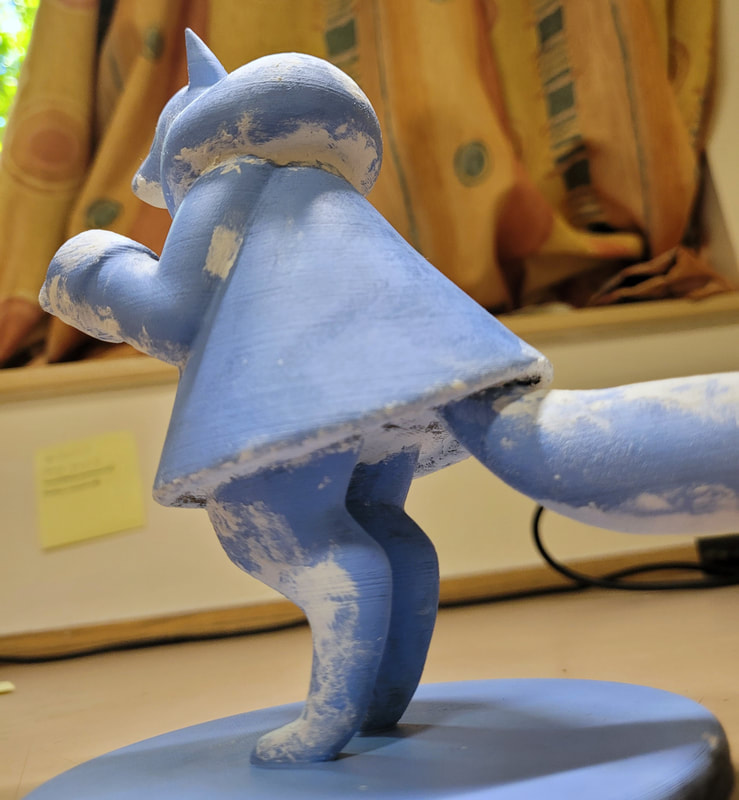
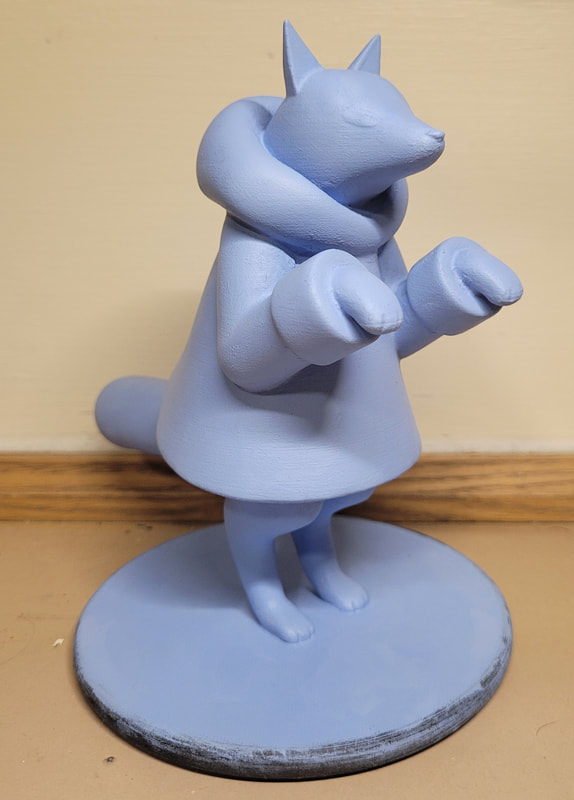
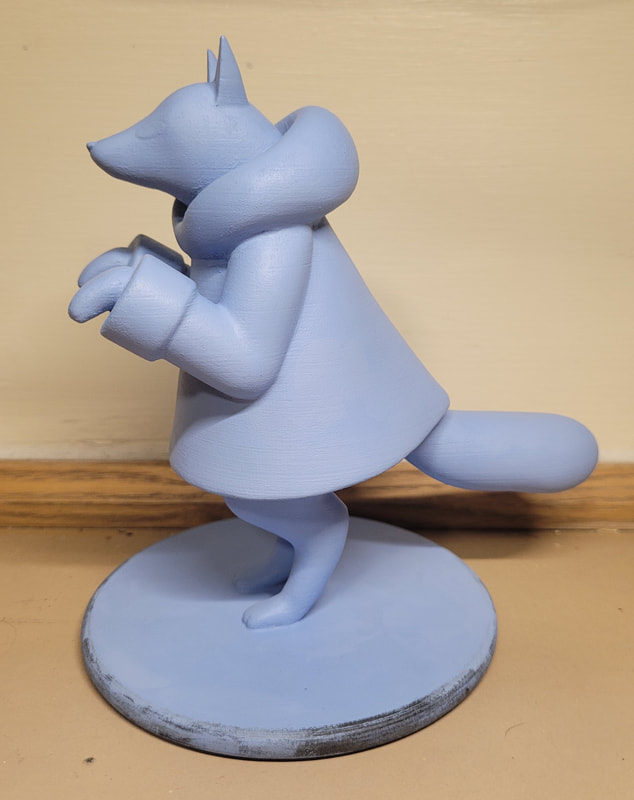
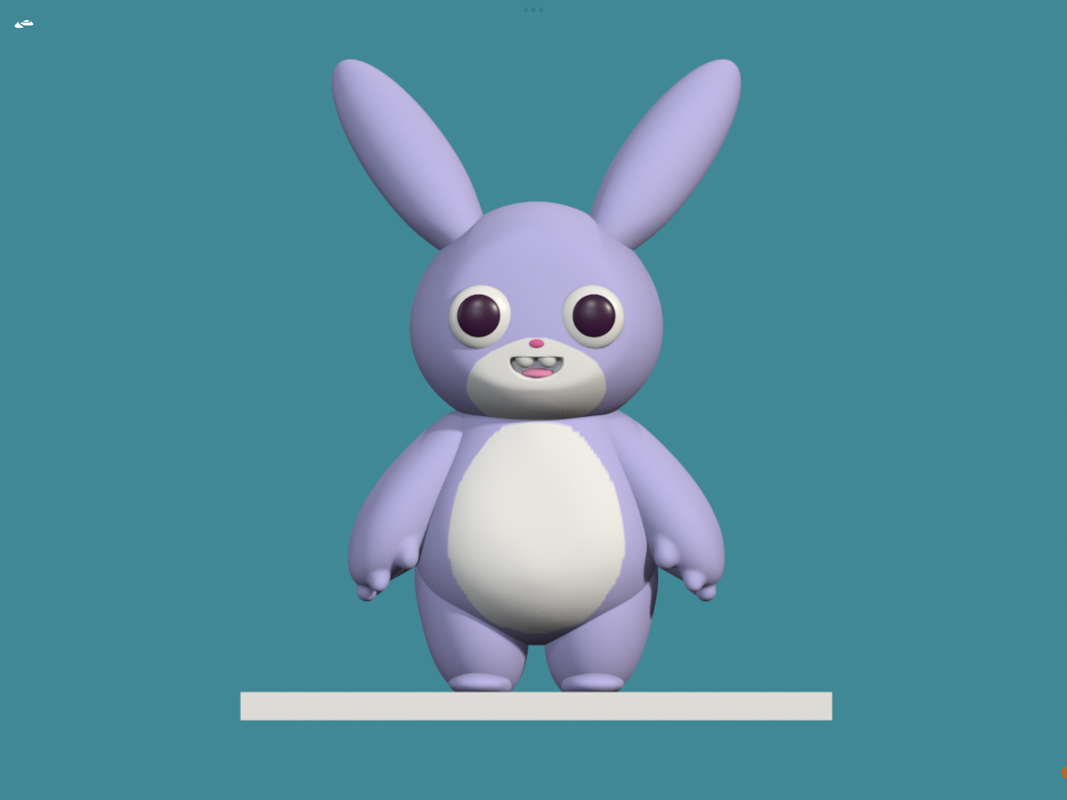
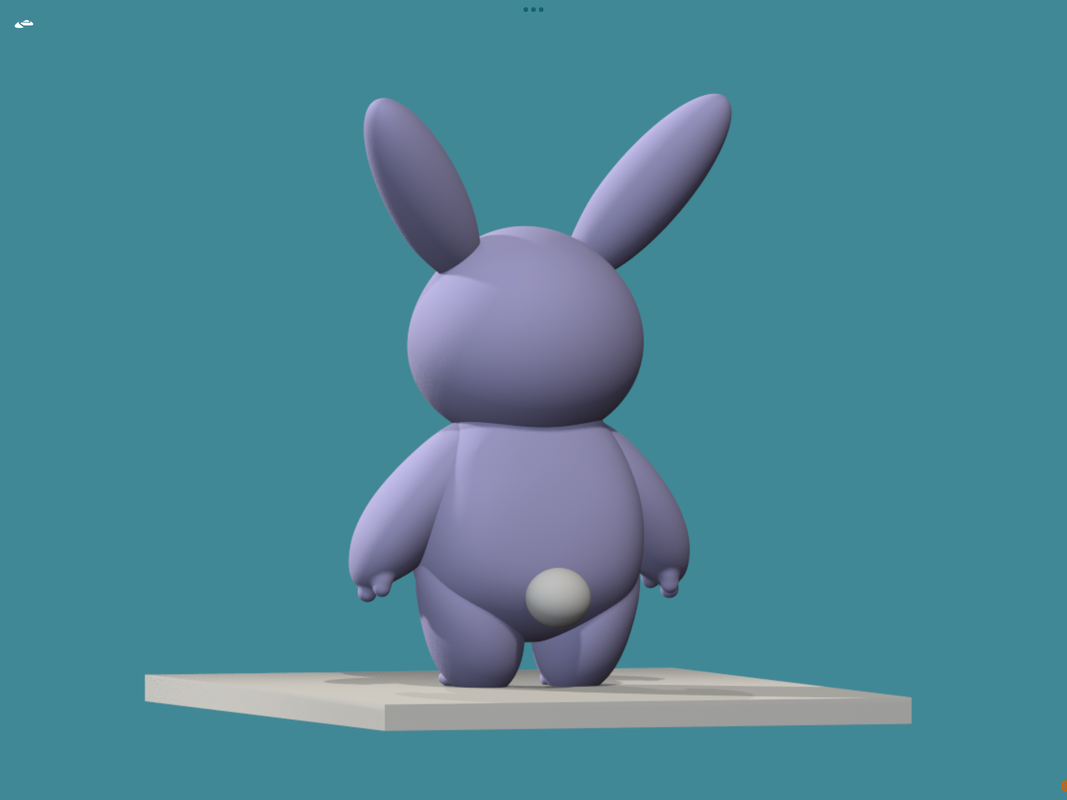
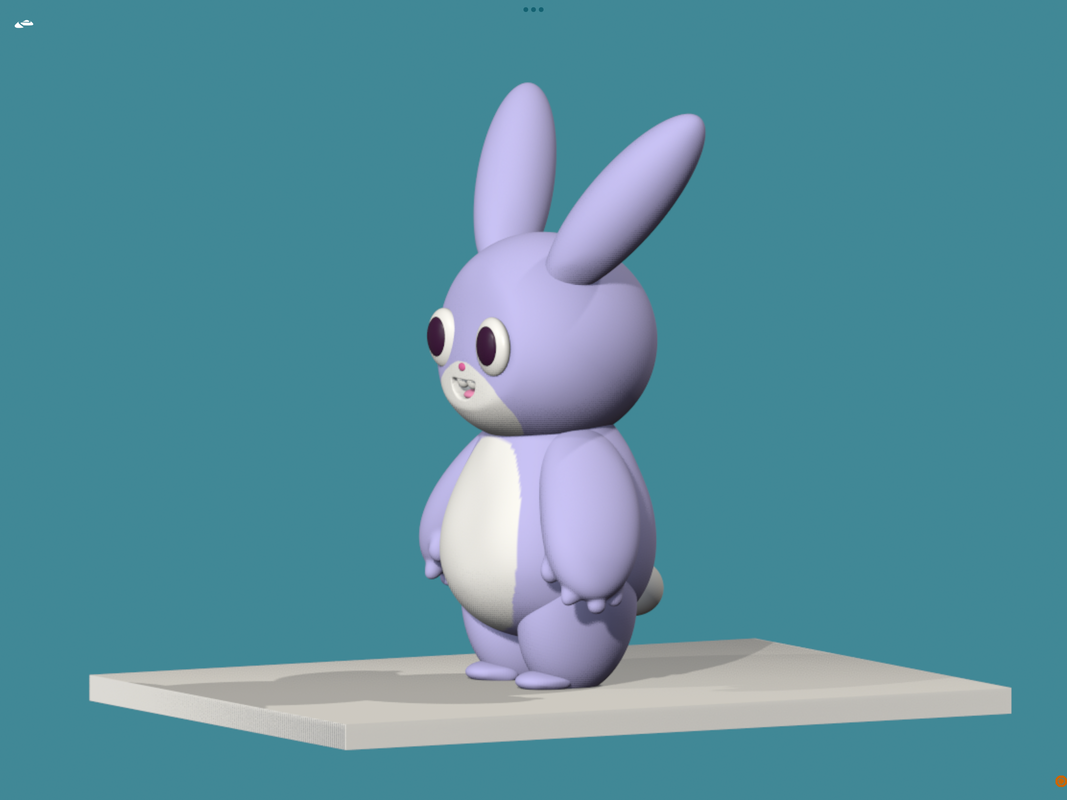
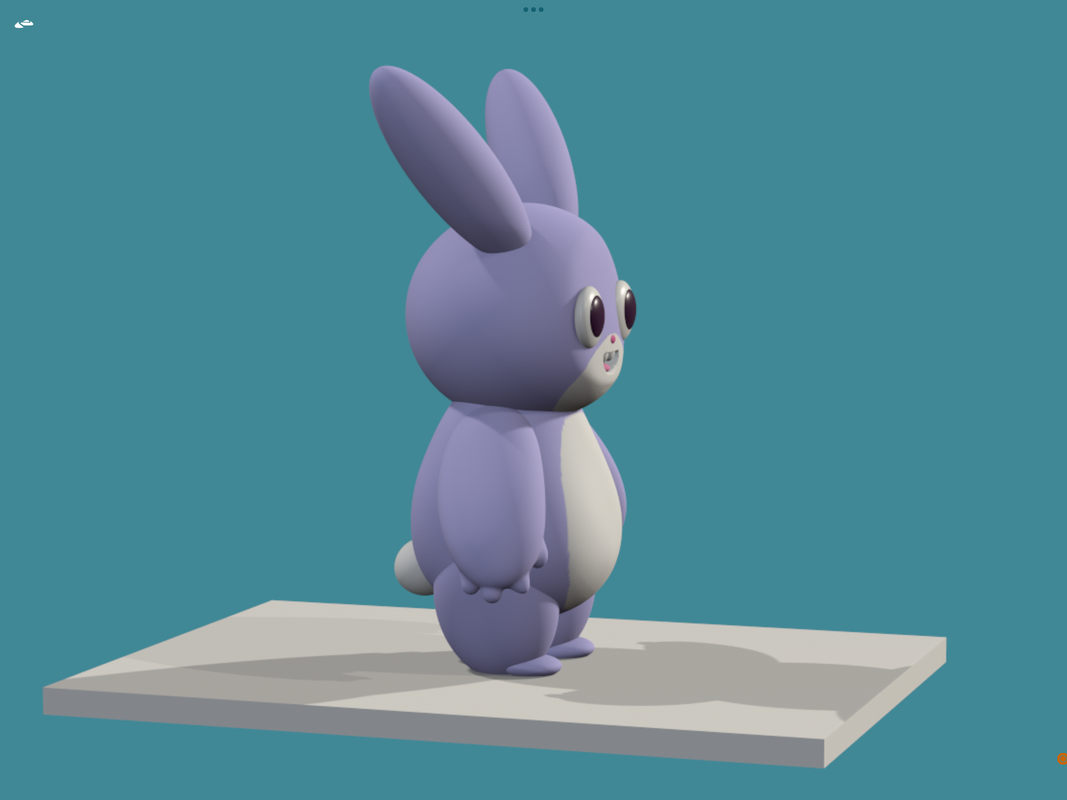
How my critter came out

Picture
Picture
Picture
Picture

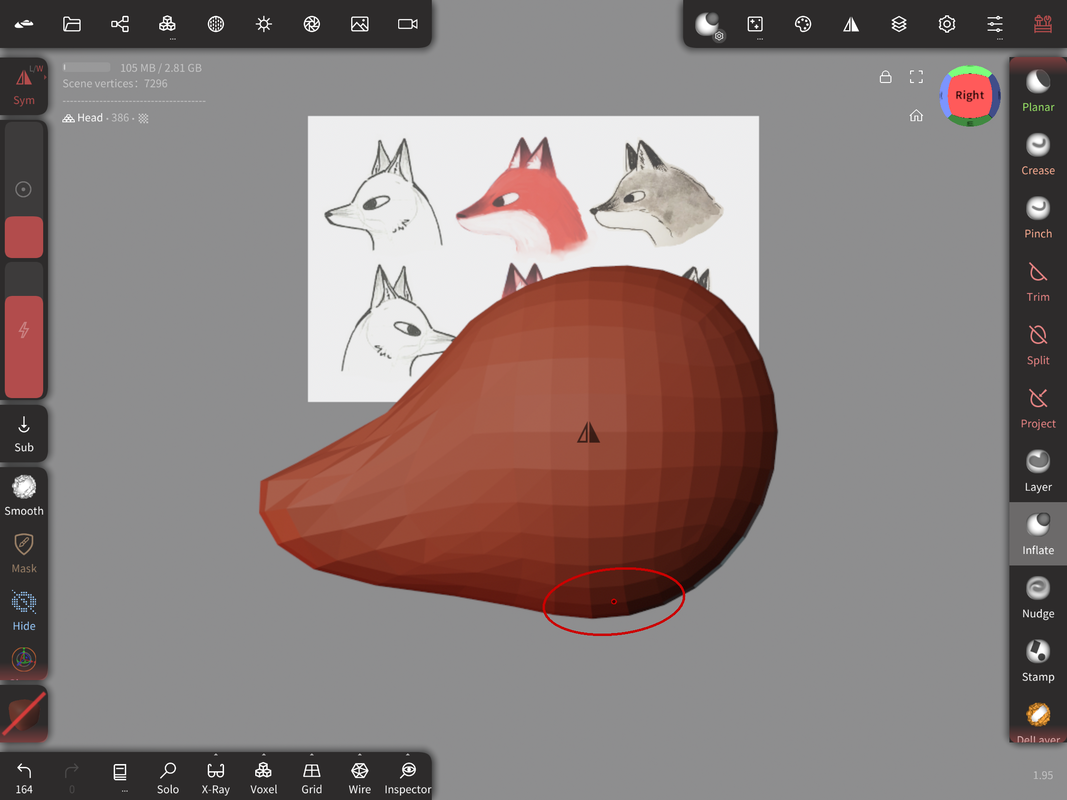
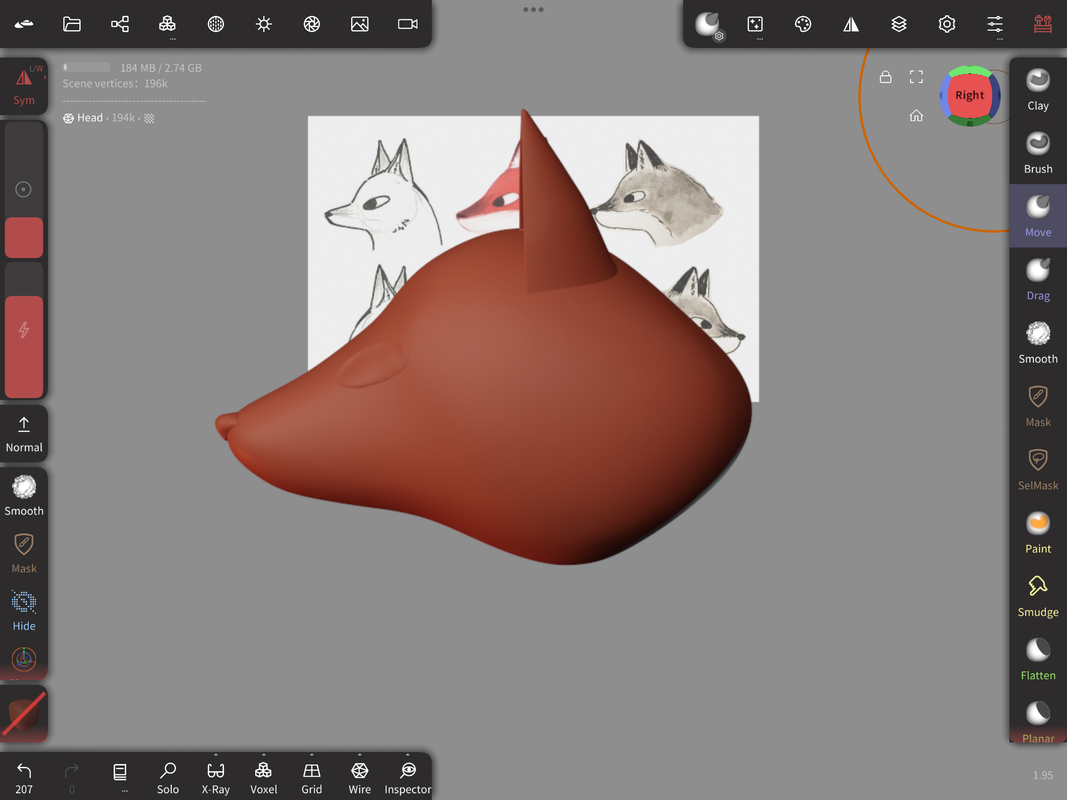
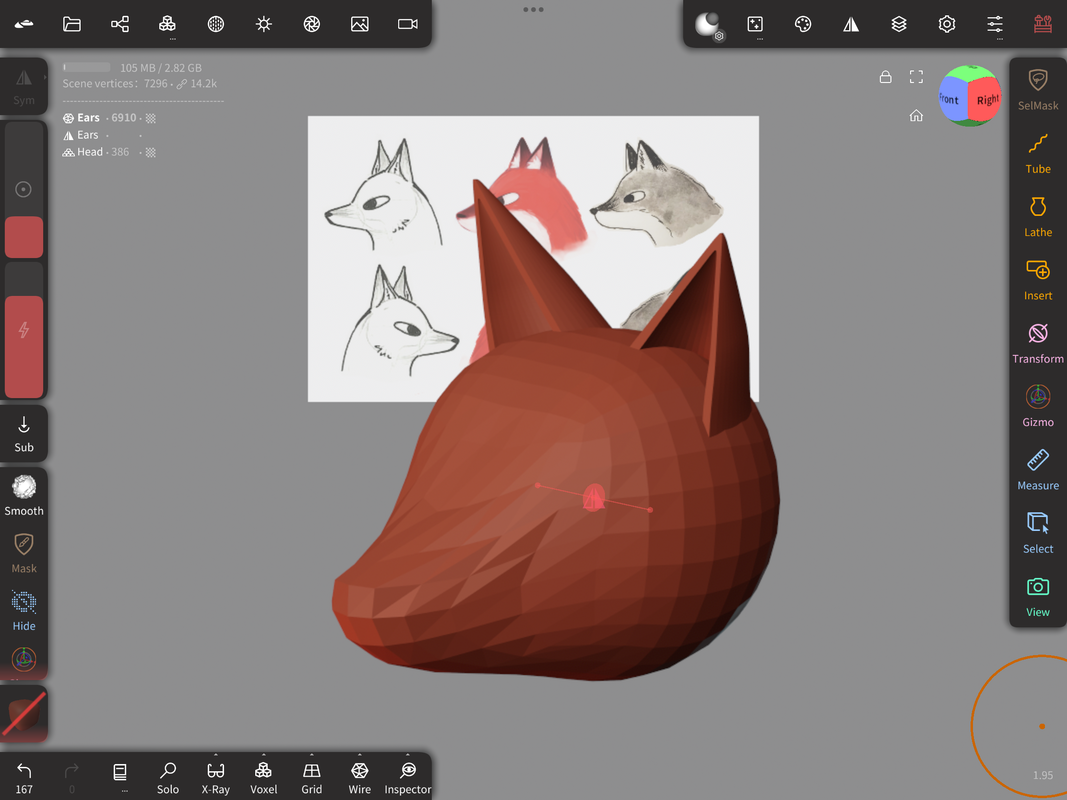
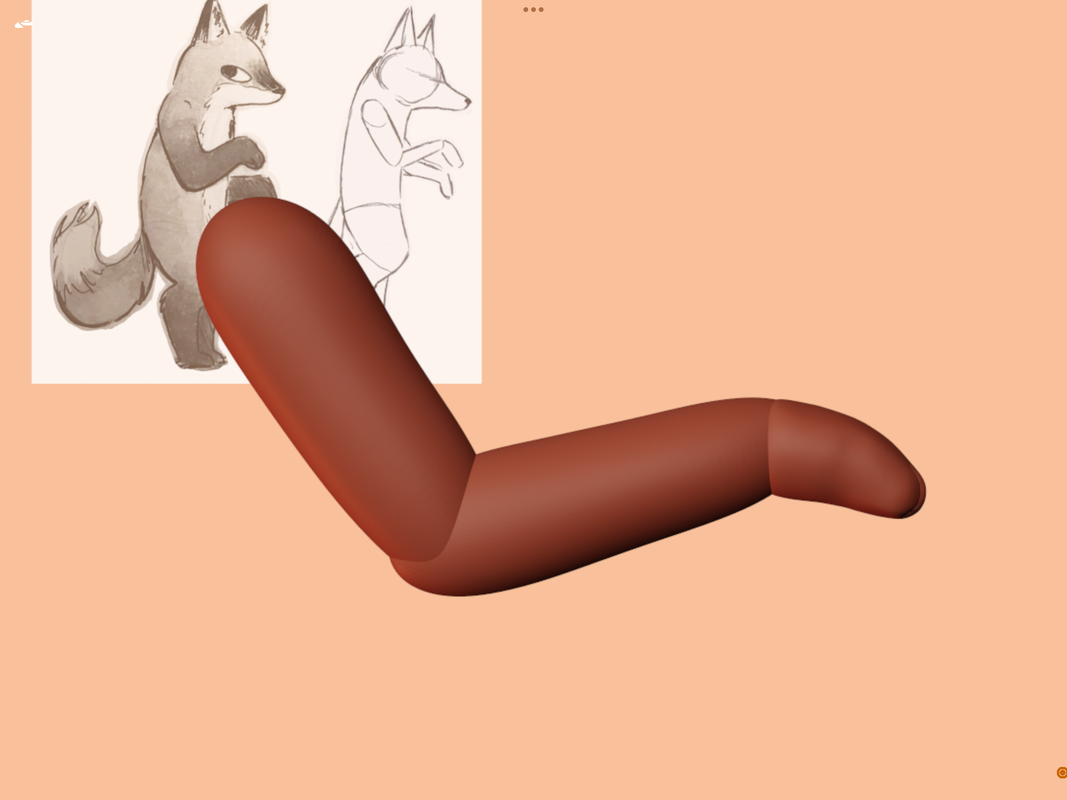
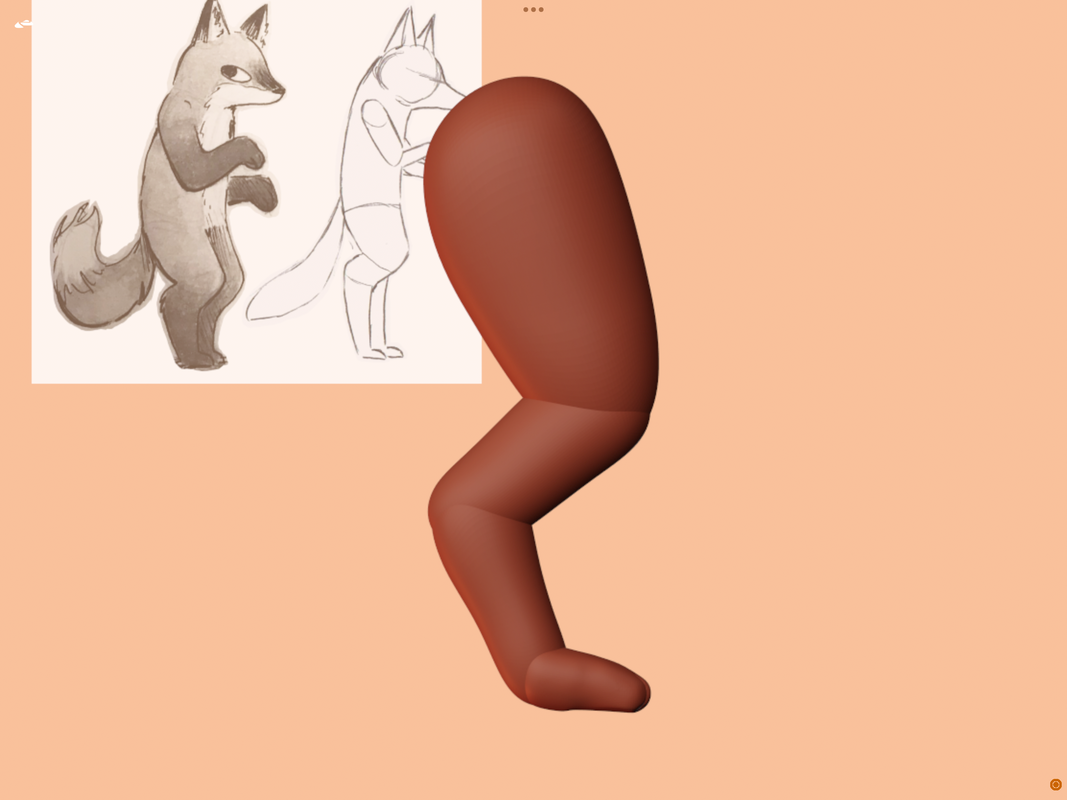
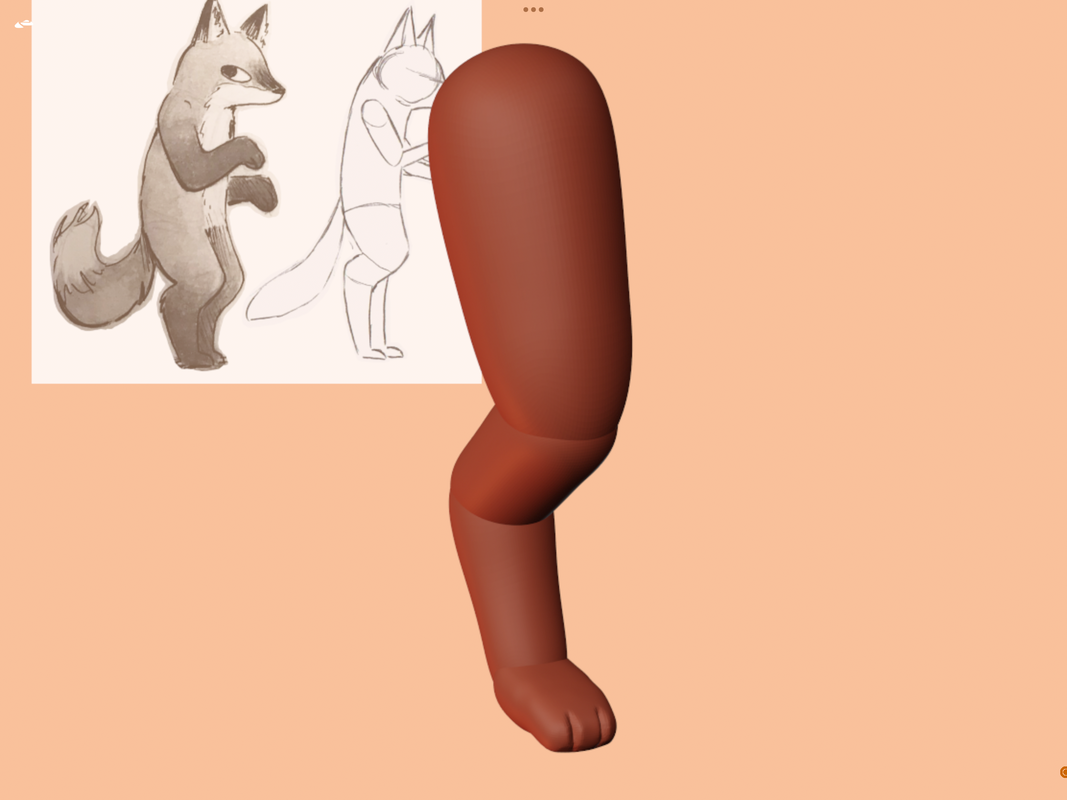
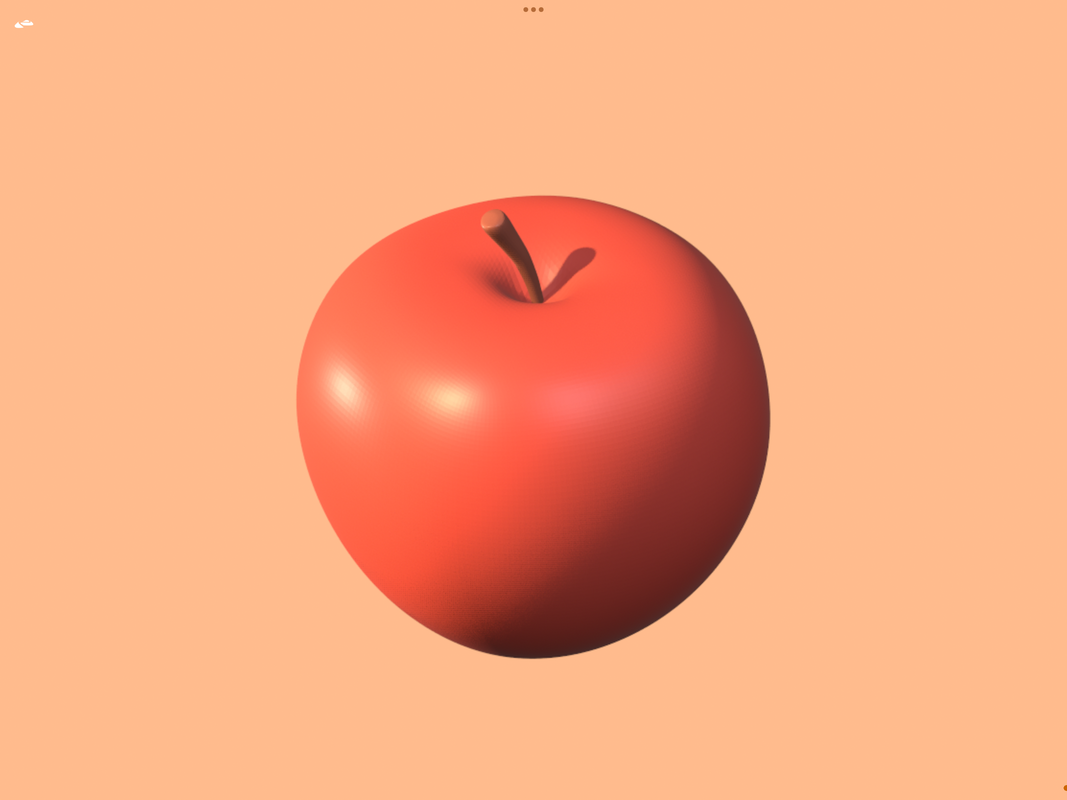
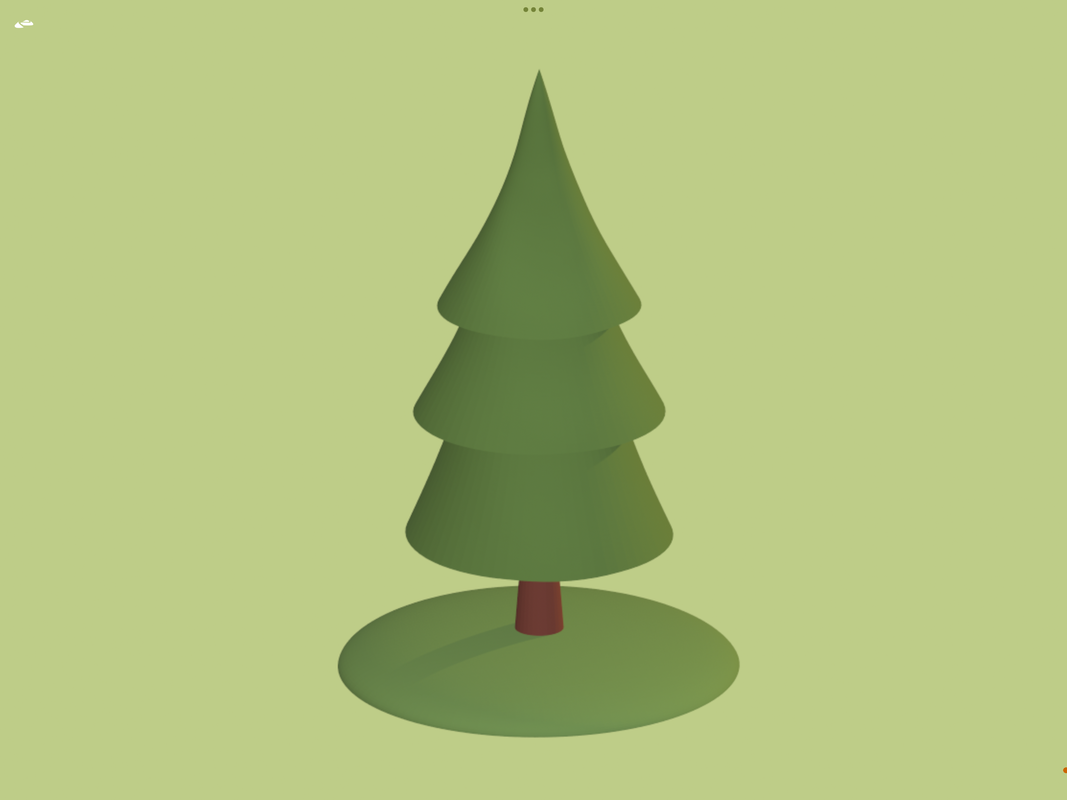
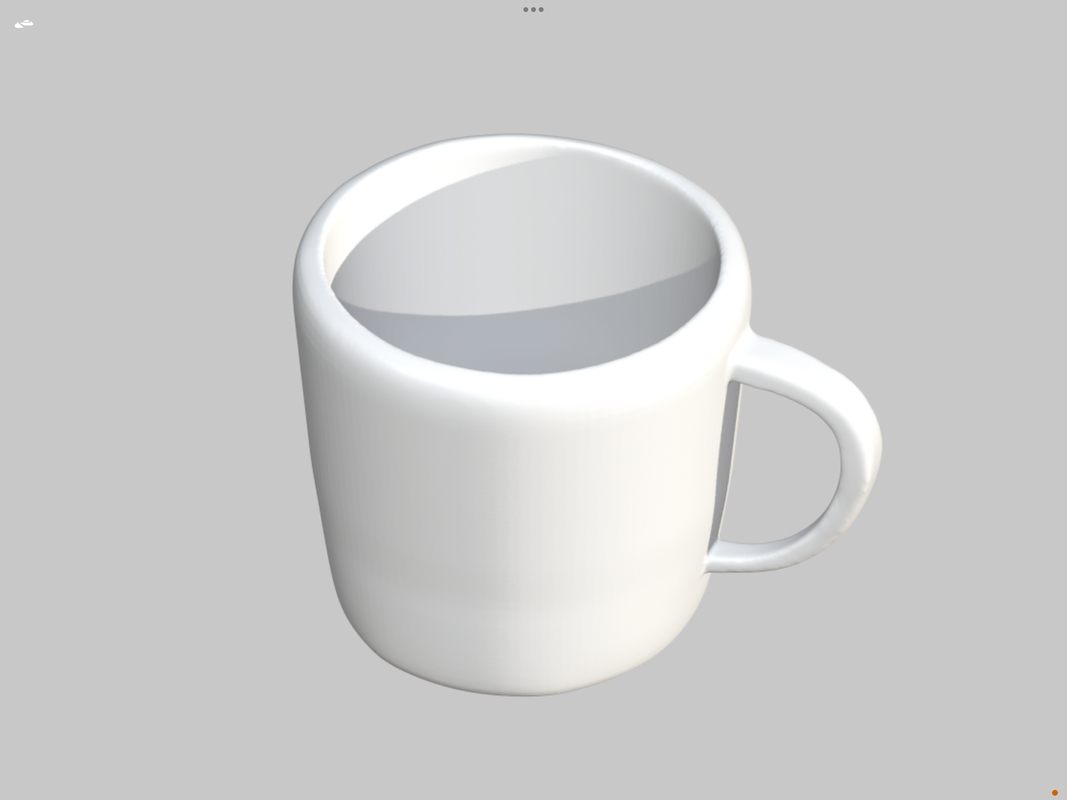
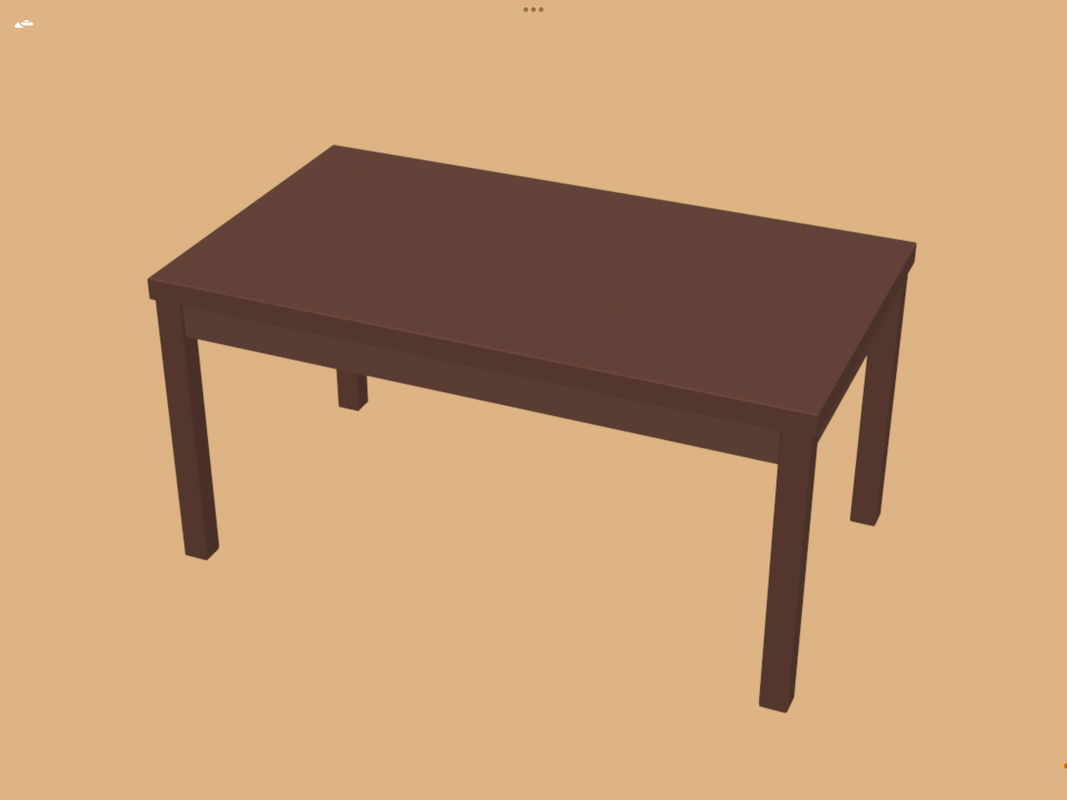
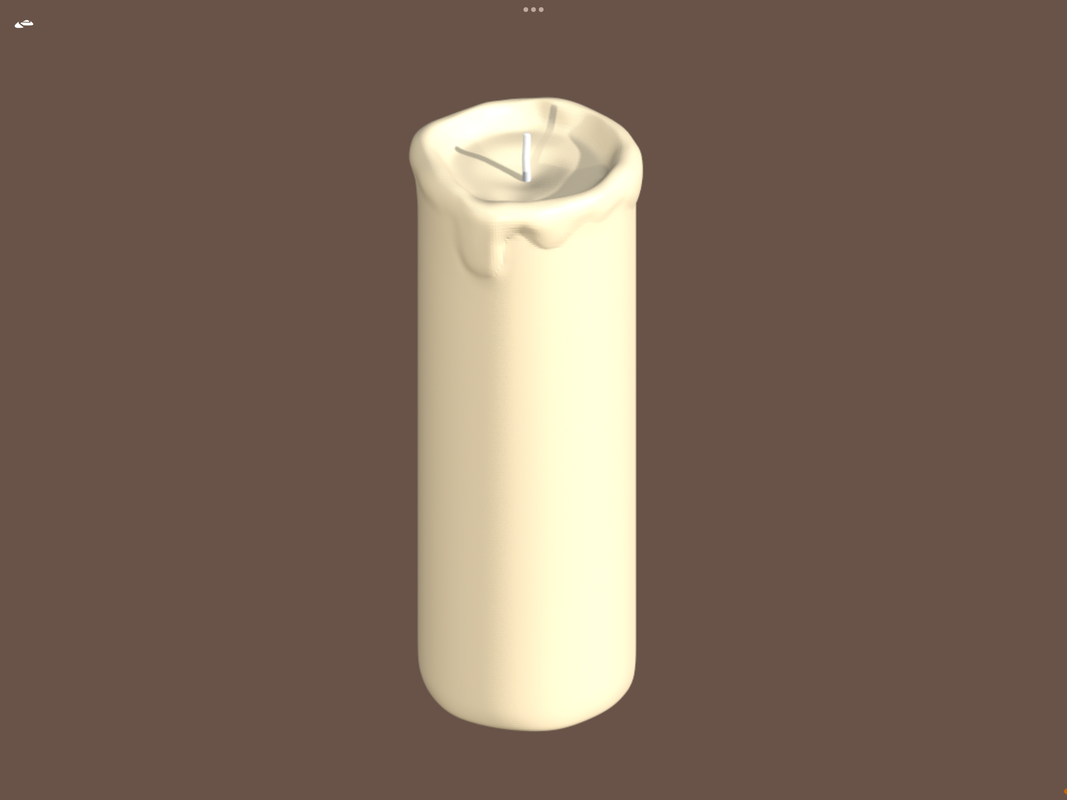
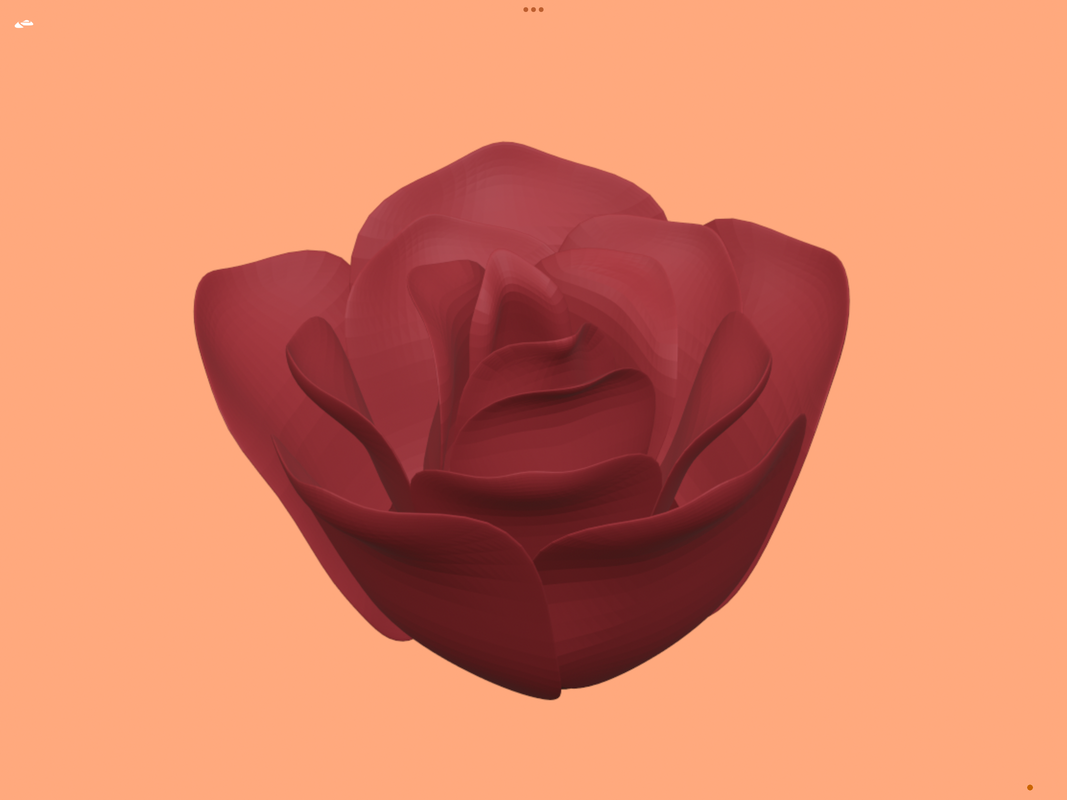
Now that I have a basic understanding of the program, I want to use what I have learned to make simple objects/props to see how I do without following a tutorial  

Picture
Picture
Picture
Picture
Picture
Picture
Picture
Picture

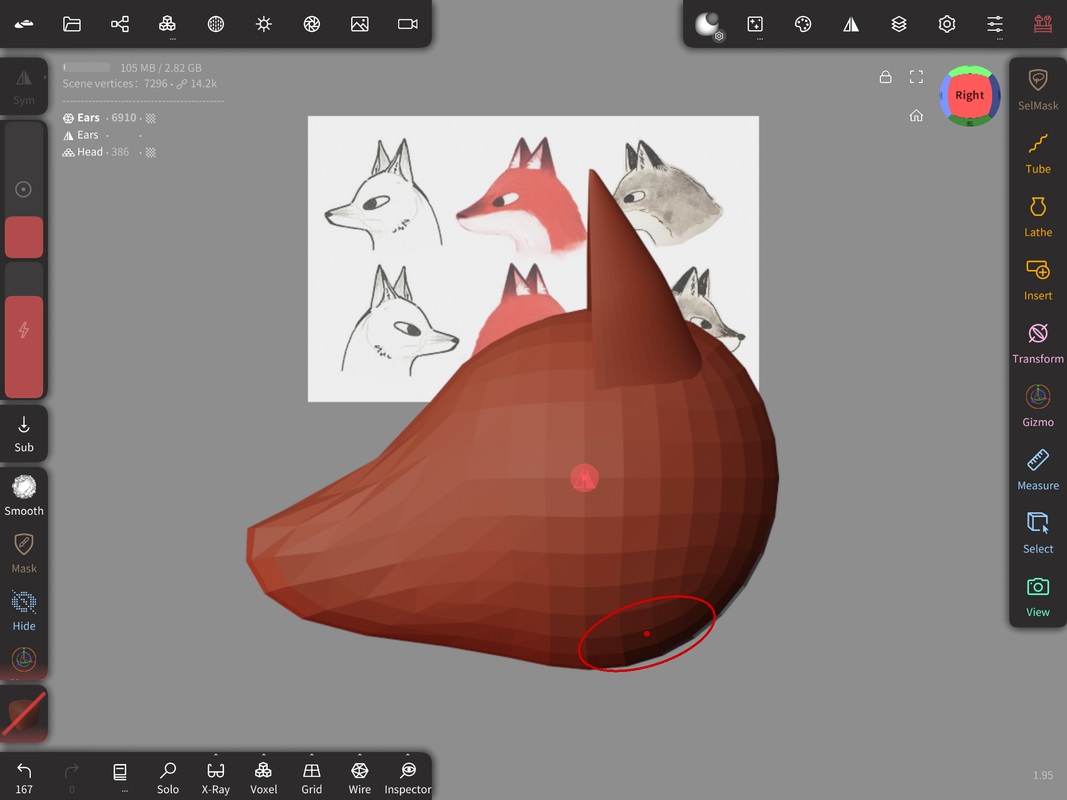
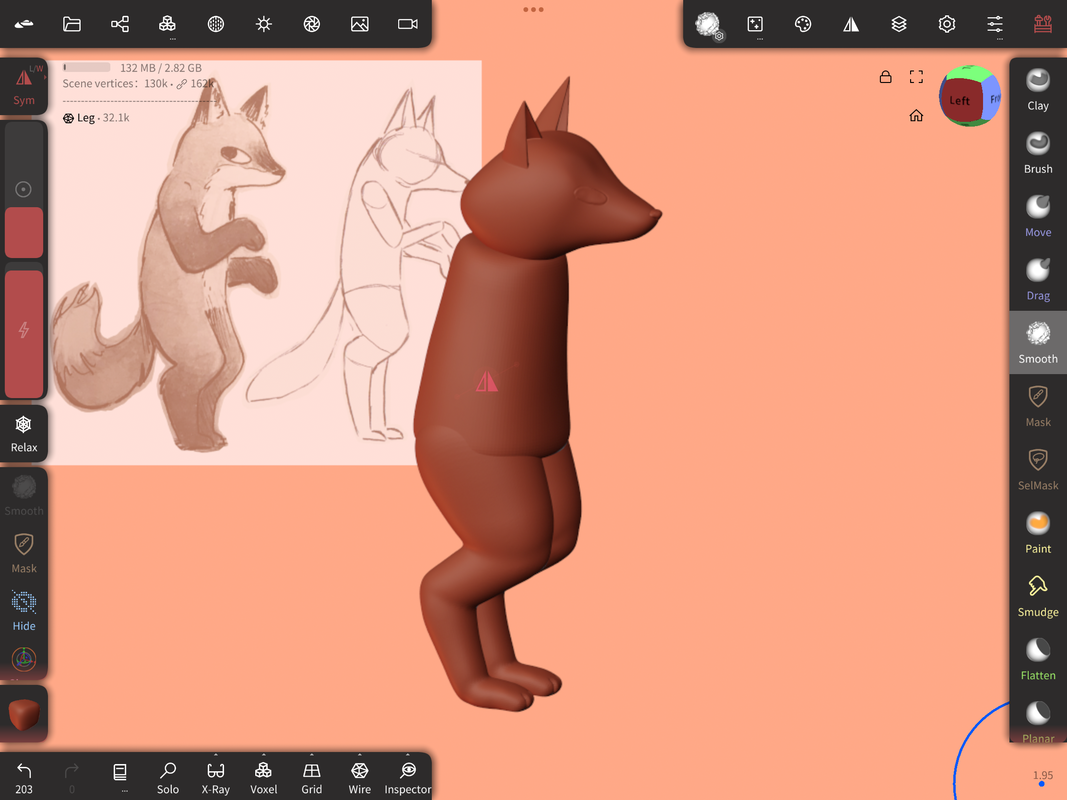
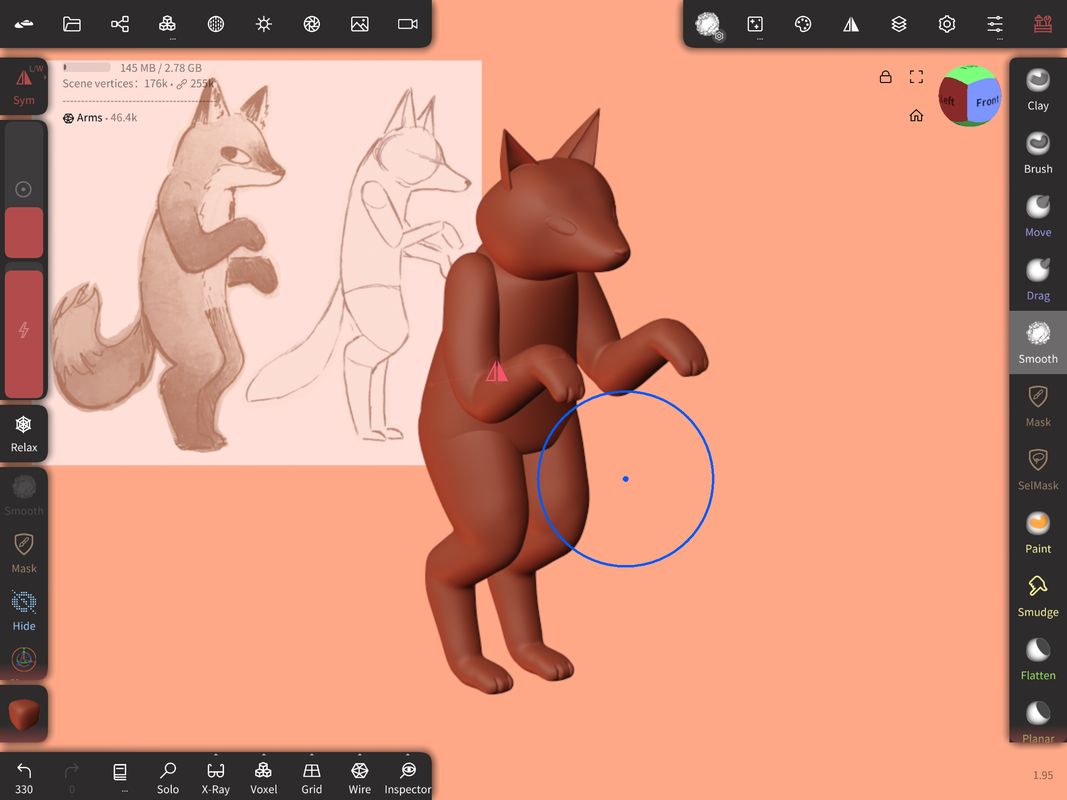
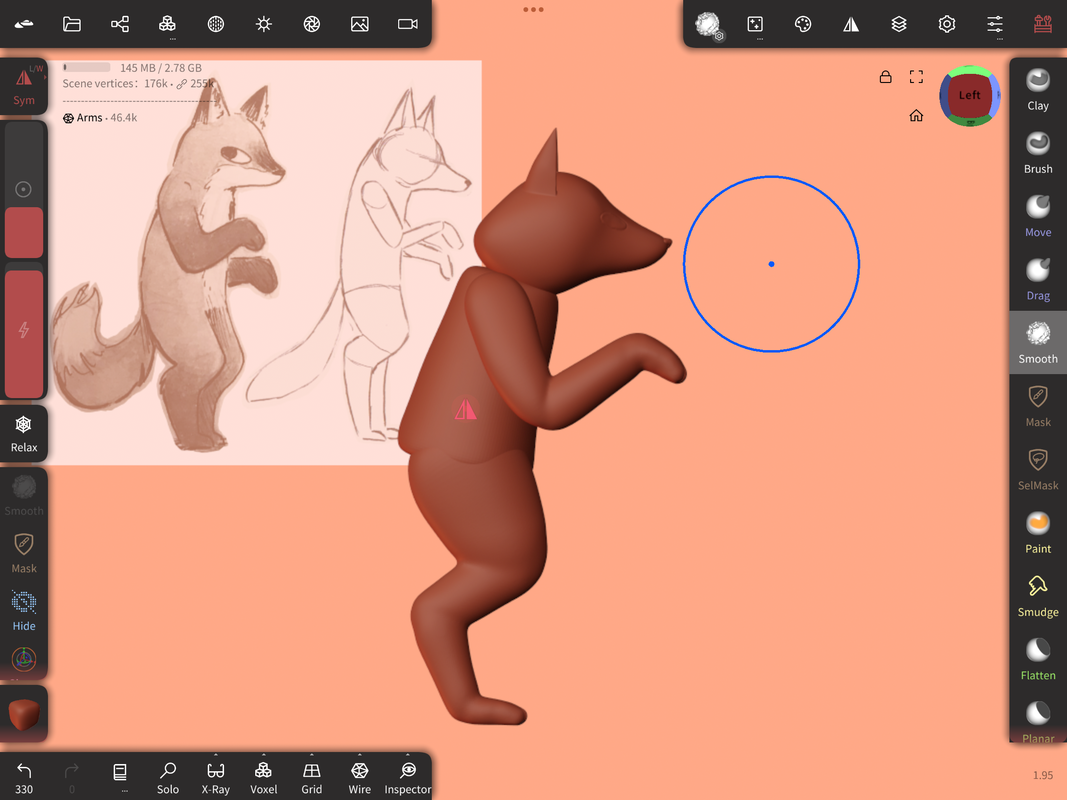
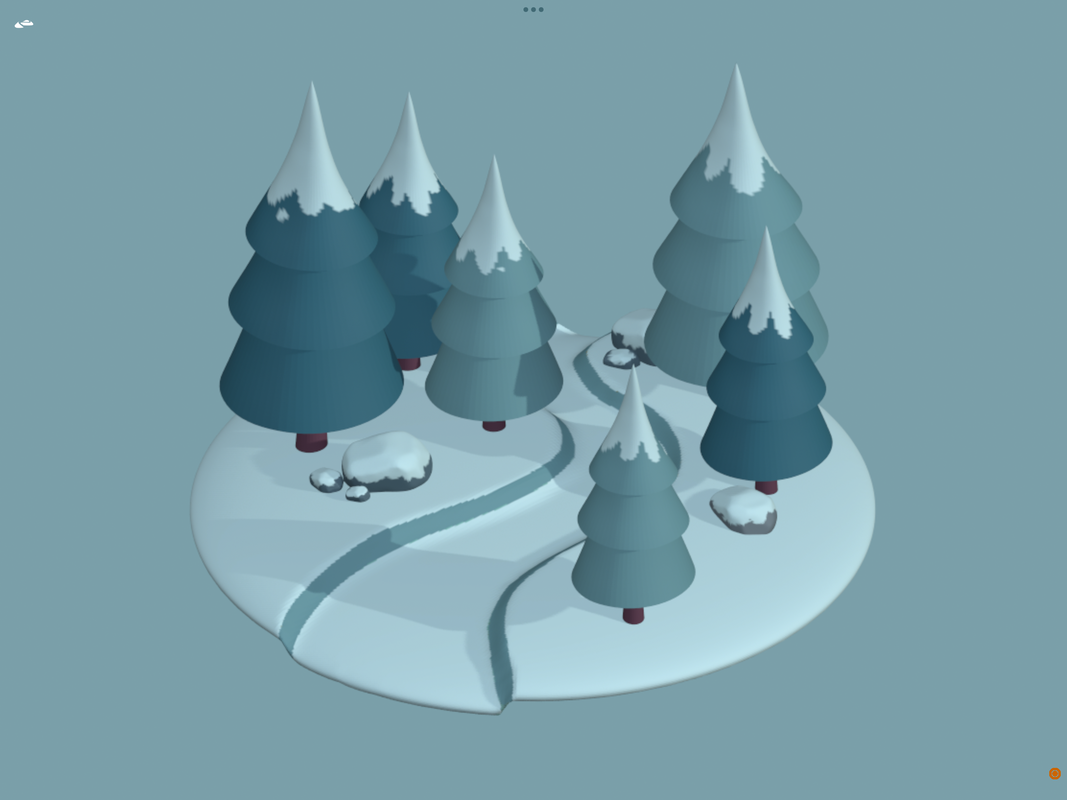
When I make the character, I want to do it in sections and then piece him together in a 'scene' (importing existing 3d models into one workspace) 

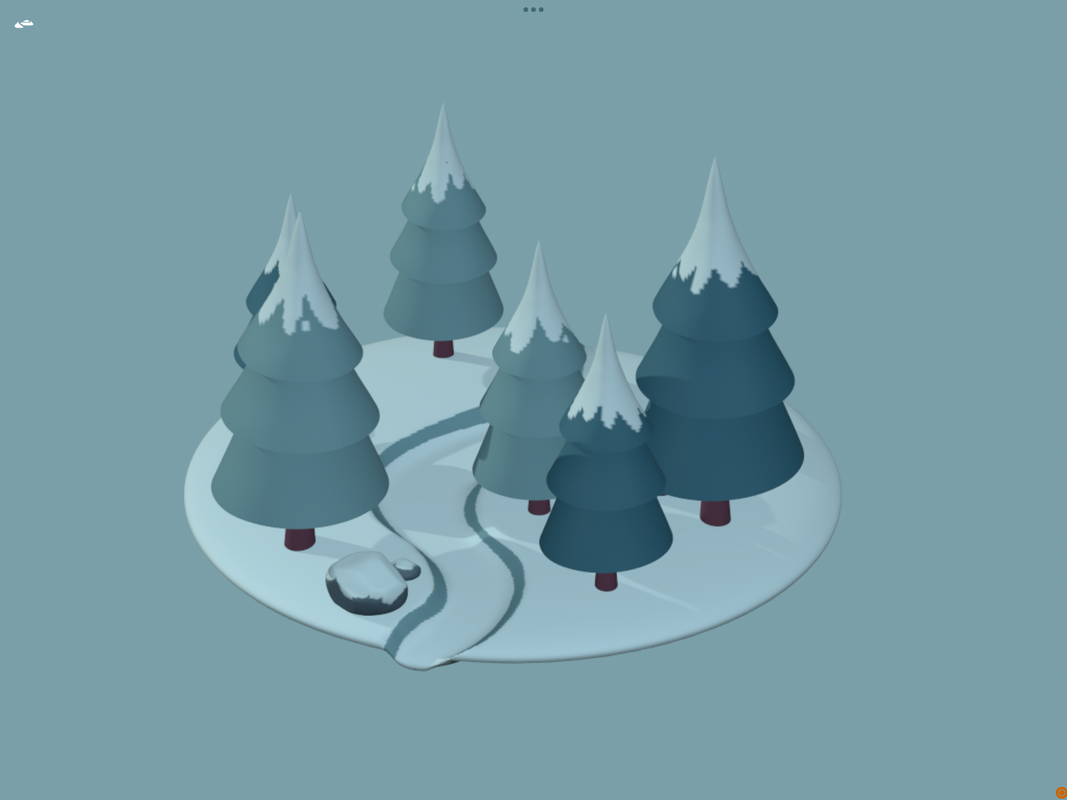
​To test how to do this I'm using the tree and rock props to make a simple diorama 

Picture
Picture

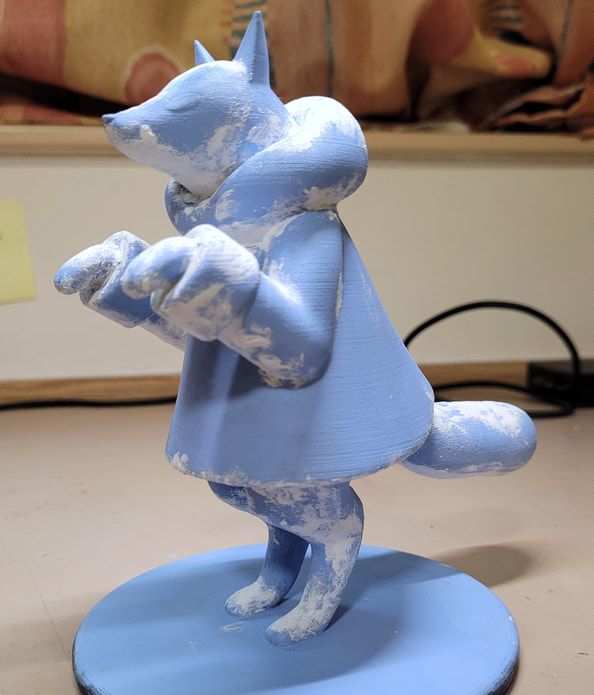
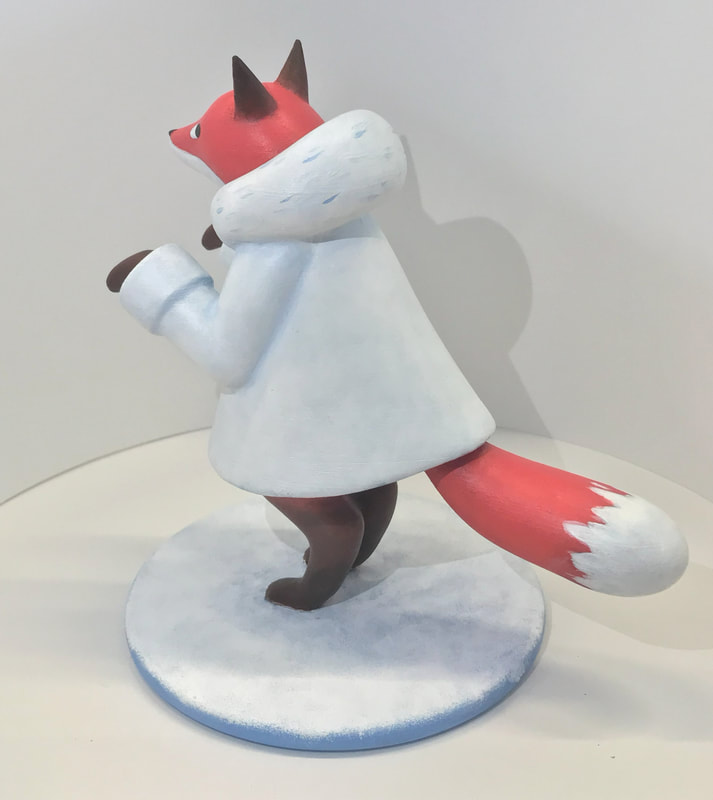
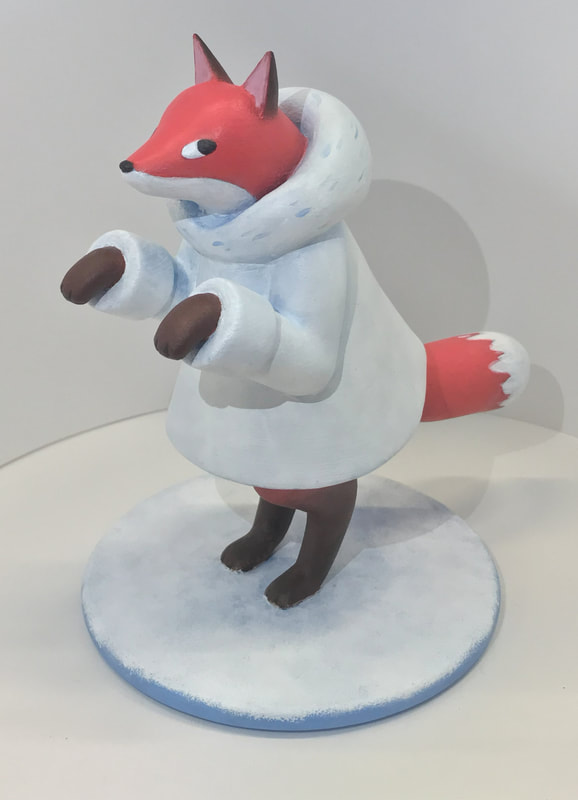
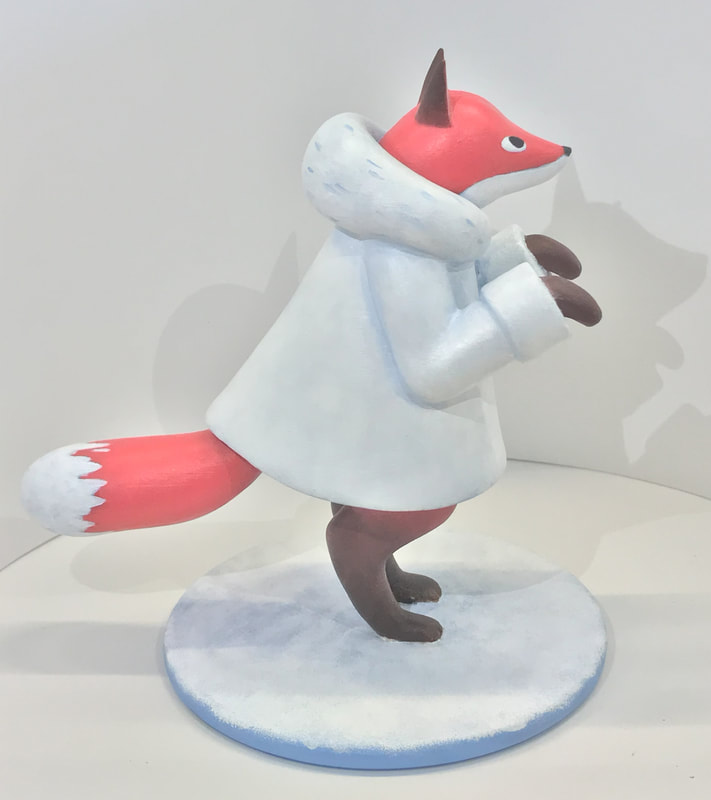
Testing out the painting tool on the model to make a snowy scene without  remodeling anything 

Picture
Picture

Now its time to make my main project character with these sketches as references 

Picture
Picture
Picture
Picture

First up, the head  

Picture
Picture
Picture
Picture
Picture
Picture

Next the arms and legs 

Picture
Picture
Picture
Picture

I only need to do one and then mirror them when i put the character together 

Putting our character together 

Picture
Picture
Picture
Picture

Adding his coat 

Picture
Picture
Picture
Picture

Coloured model

It was pointed out to me that the foxes legs are a bit to angular and I realized that I was thinking to much about how the bones look inside the legs instead of how the legs look with the skin and fur on top

After fixing the legs and some minor tweaks I'm happy with this as the final model

Now it time for the next step. 3D printing!
(Big thanks to Michael Coombs for the 3d print)

When 3D printing with filament means that the surface will be bumpy with all these lines

Picture
Picture

To make the 3d print ready to paint we need to sand down the surface

First round of sanding

Picture
Picture
Picture

Next you would usually use a type of primer to fill in between the lines before sanding again, put I don't have a primer so I'm using acrylic paint and air dry clay instead 

Picture
Picture
Picture

After another 2 rounds of painting and sanding the surface is much better 

Picture
Picture

Finally painting the figure

I want to get a better photo so I tried to make a white photo box thing

The photos I got from using my photo box are … fine, but the the shadows are to strong

Picture
Picture
Picture

Thankfully I was made aware of a real photo box setup in Dave's office that I could use. 
(Thank you to Dave Hurn for the help!)

Site powered by Weebly. Managed by 34SP.com
  • Who am i ???
  • University of Cumbria year 3